What Is Salesforce CPQ?
CPQ stands for Configure, Price and Quote which is a web application tool provided by salesforce, it is a sales tool for companies to provide accurate pricing with any given product configuration scenario. Due to its cloud-based platform, Salesforce CPQ offers your sales team simple-to-use software accessible on any device. You have a direct connection with your CRM thanks to hosting within the Sales Cloud platform, enabling you to make the most effective sales decisions.
Discount scheduling :
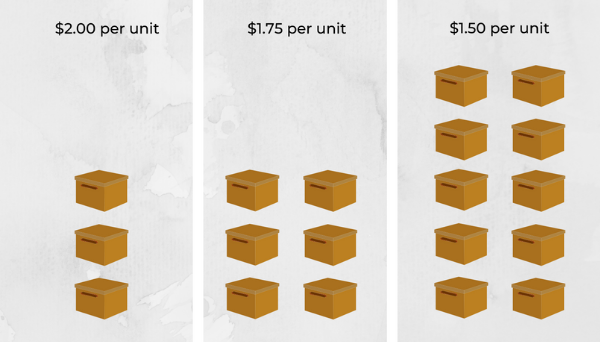
Now let’s imagine the scenario that your customers want to buy products in bulk. You provide the customer with a discount for purchasing more Products, you must create a scheduled discount. So let’s take the case and create a discount for every 50 units counting quantities of a product when split across multiple quote lines. To accomplish this, we must use the Aggregation Scope field, one of the most crucial parameters for the discount schedule. It regulates which quote level or quotation group level the quantities of a product are aggregated at.
Step 1. Create a Discount Schedule
A. Go to the Discount Schedules tab from the navigation bar.
B. Click New.
- ► For the Schedule Name, enter Steps of 50 Units
- ► For the Aggregation Scope, select Product
C. Click Save.
Step 2. Create Discount Tiers, with ranges of 50 units for the first four.
- A. Click Edit Tiers.
- ►For the Tier Name field enter No Discount
- ►For the Lower Bound field, enter 1
- ►For the Upper Bound field, enter 51
- ►For the Discount field, enter 0
- B. Click the + button.
- ►For the Tier Name field enter Level A
- ►For the Lower Bound field, enter 51
- ►For the Upper Bound field, enter 101
- ►For the Discount field, enter 3
- C. Click + button.
- ►For the Tier Name field enter Level B
- ►For the Lower Bound field, enter 101
- ►For the Upper Bound field, enter 151
- ►For the Discount field, enter 7
- D. Click + button.
- ►For the Tier Name field enter Level C
- ►For the Lower Bound field, enter 151
- ►For the Upper Bound field, enter 201
- ►For the Discount field, enter 10
- E. Click + button.
- ►For the Tier Name field enter Level D
- ►For the Lower Bound field, enter 201
- ►For the Discount field, enter 15
- F. Click Save.
Step 3: Update the ProductX to use the Steps of 50 Units discount schedule.
- A. Click the Products tab from the navigation bar.
- B. Click All Products from the Products List View.
- C. Click ProductX.
- D. Click Edit.
- ►For the Discount Schedule field, enter Steps of 50 Units
- E. Click Save.
Step 4: Check whether ProductX is discounted as our expectations by adding it to a quote and then changing its quantity.
- A. Click the necessary quote.
- B. Click Edit Lines.
- C. Click Add Products.
- D. Click ProductX product.
- E. Click Select.
- (Let’s say that ProductX Regular Unit Price is $25.00. A discount schedule appears when you hover your mouse over an icon on the quote line that resembles the dollar sign on a sign..)
- F. Change ProductX quantity to 55
- G. Click Calculate.
- (Note the Regular Unit Price for Printer Paper Letter is now $19.40.)
- H. Change ProductX quantity to 125
- I. Click Calculate.
- (Note the Regular Unit Price for ProductX is now $18.60.)
- J. Change ProductX quantity to 175
K. Click Calculate.
Conclusion :
The discount schedule is the best part or feature of salesforce CPQ which helps the developer with time-saving and makes the work effortlessly.